How to set up WP Defender for WordPress.
WPMU Defender is a security plugin for WordPress that helps protect your website from various threats, including malware, brute force attacks, and spam.
This article will show you how to install and activate the WPMU Defender plugin on a WordPress website. It will also guide you on how to set up Google reCAPTCHA on your site.
Table of contents
Video Tutorial: How to set up WP Defender in WordPress
Check out the video tutorial on how to set up WP Defender to protect your WordPress Website.
Steps to Install and Activate WPMU Defender Plugin.
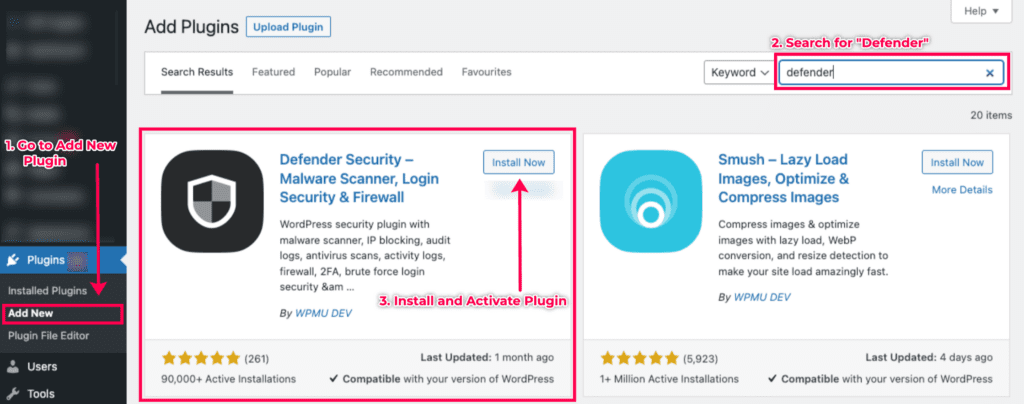
- Go to Add New via the Plugins submenu.
- On the Add new plugin page, go to the search bar, and search for Defender.
- Click on the Install and Activate button.
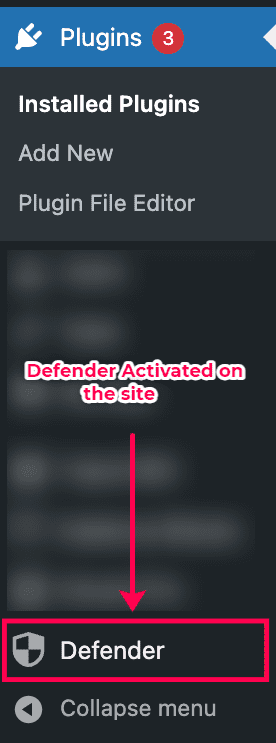
- Once the plugin is activated, you will see a new Defender menu item in your WordPress dashboard.
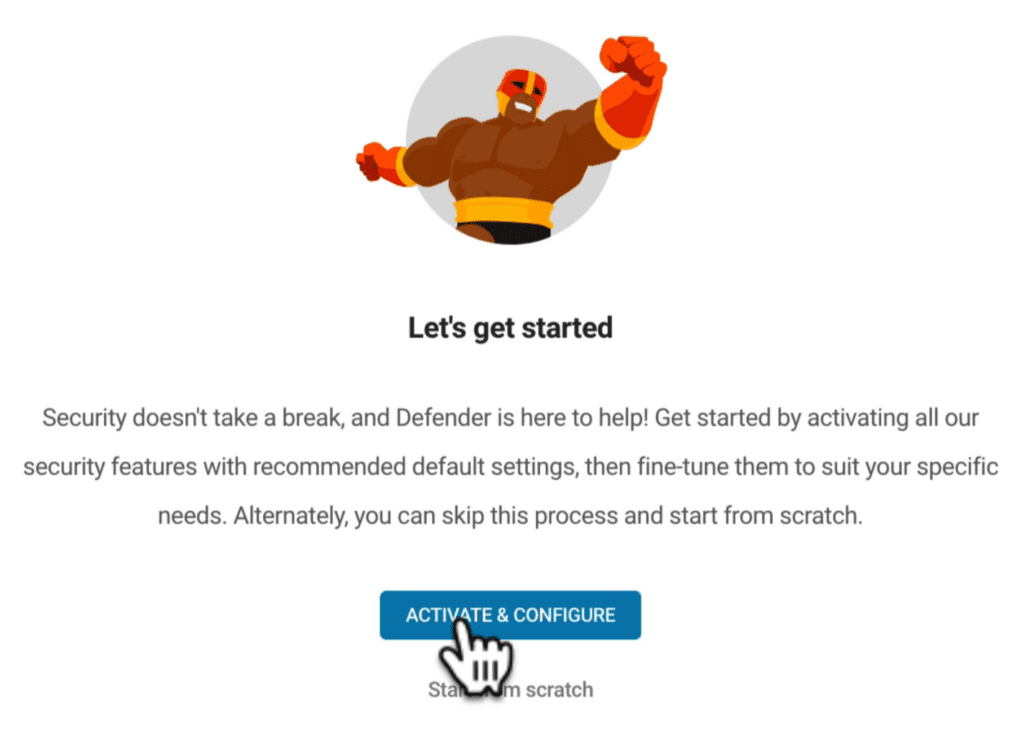
- Go to Defender. Click the Activate and Configure button.
Once the activation is done, you will see a variety of options that you can configure. These options allow you to customise the security settings for your website.
WP Defender Features and Tools
Some of the vital settings that you could configure include:
- Audit Logging: Tracks every event on the site.
- Malware Scanner: This setting allows you to scan your website for malware.
- Security Header Configurations: These protect your website from cross-site scripting attacks.
- Pwned Passwords: Checks website passwords to ensure they have not appeared in any known data breach.
- Firewall: Allows you to block unauthorised access to your website.
Google reCAPTCHA in WP Defender
One of the essential tools inside WP Defender is adding Google reCAPTCHA to your website’s form pages.
It is a CAPTCHA system, “Completely Automated Public Turing Test to Tell Computers and Humans Apart.”
CAPTCHAs are designed to be easy for humans to solve but difficult for bots.
If the user can complete the challenge, they can access your website. However, they will be blocked if the user cannot complete the challenge.
How to Set up reCAPTCHA on your website
Below are the steps to set up reCAPTCHA on your website using WP Defender.
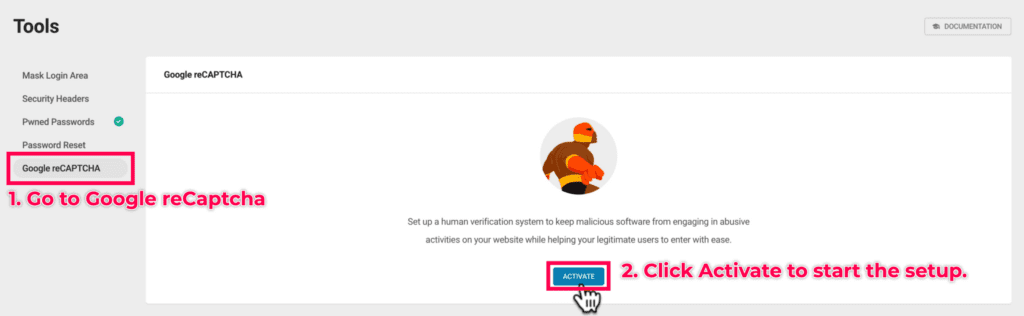
Go to Google reCAPTCHA tool.
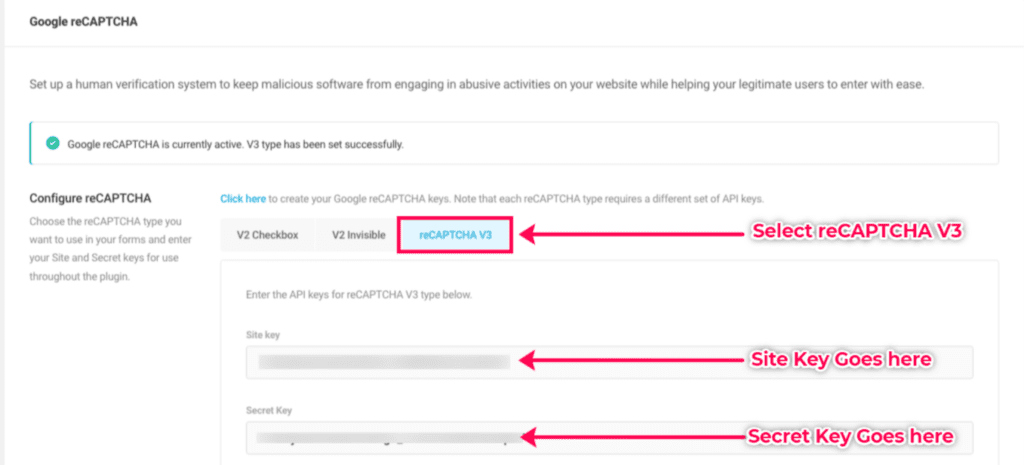
- Go to the WPMU Defender tools page and navigate to the Google reCAPTCHA tab.
Select reCAPTCHA type.
Choose the type of reCAPTCHA to use on the website. We will use the reCAPTCHA v3 in this example.
On this setup page, you will see the section where you must add the reCAPTCHA API keys. Let us proceed to the next step, where we create the Site and Secret keys.
Create the Google reCAPTCHA API keys.
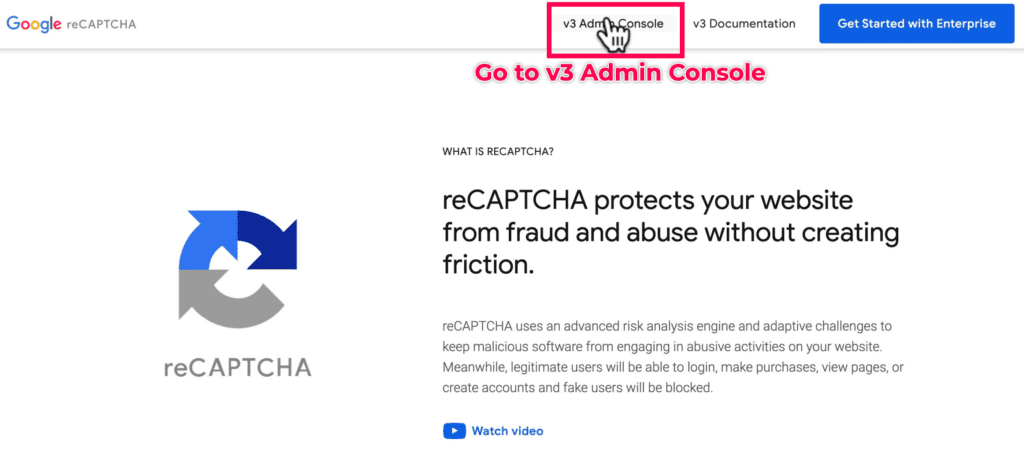
To create our API keys, we need to first go to the Google reCAPTCHA console.
- Open a new tab in your browser.
- Go to google.com/recaptcha/about/. This takes you to the Google reCAPTCHA console page.
- Click v3 Admin Console.
- On the console landing page, click the Create Keys button.

Fill in the following details in the form.
- Add a label for the site key.
- Select Score-based v3 as the reCAPTCHA type.
- Add the domain(s) for the website you are creating the key for.
- Click the Submit button to create the website keys.
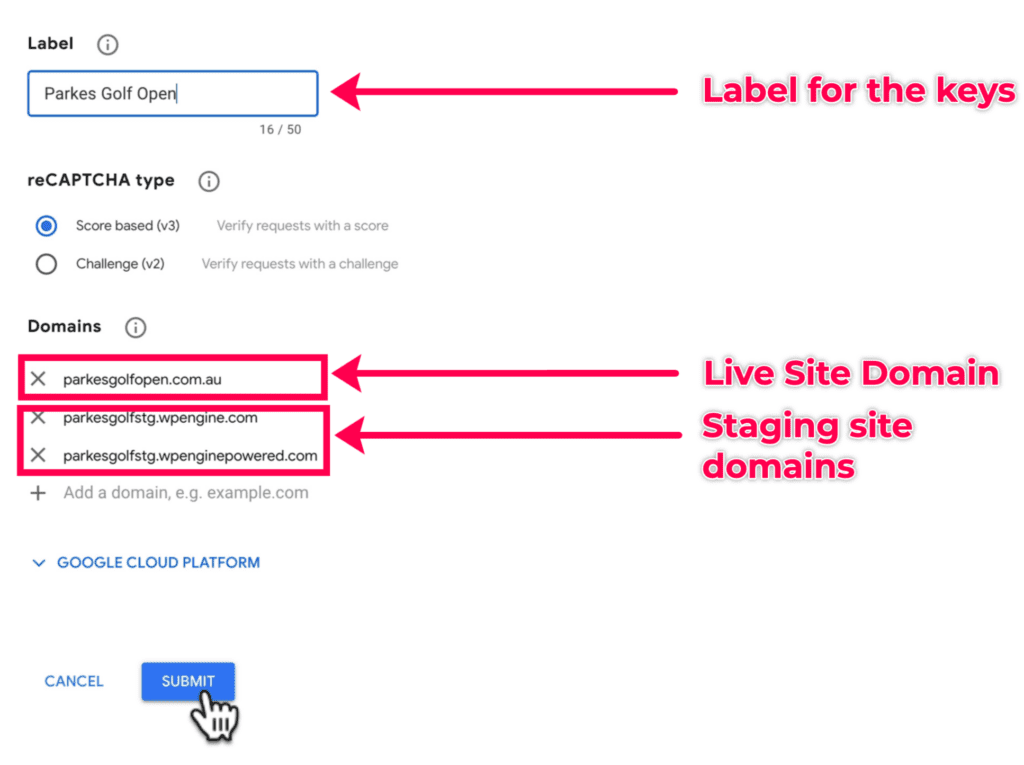
Staging domains
If you have a staging or local development environment version of your website, add their domains when creating the API keys.
Add API keys to the website.
After submitting the form, you will be redirected to the Site Keys page. This is where you will find both the Site and Secret keys. Copy both keys, one by one and add them to the WP Defender setup.
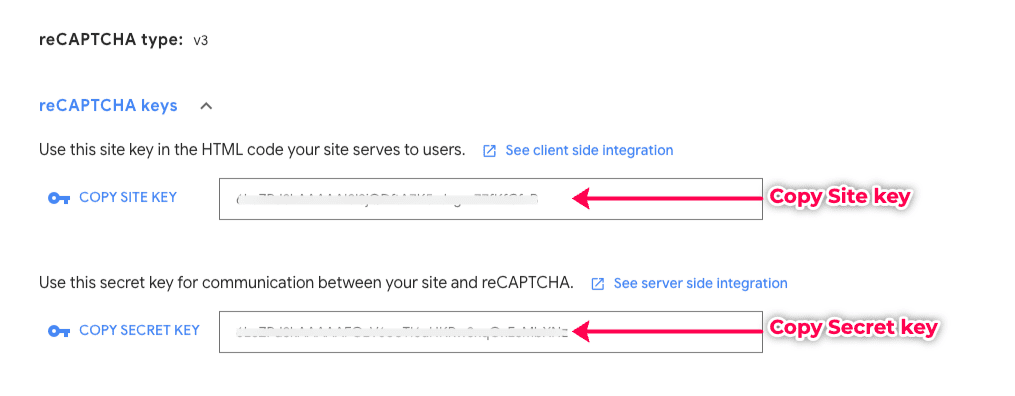
- Add the site and secret keys to WP Defender.
Set reCAPTCHA to specific pages.
You should recall that reCAPTCHA is used to test for human or bot activity on your website. You, therefore, have to select the form pages on which it will appear.
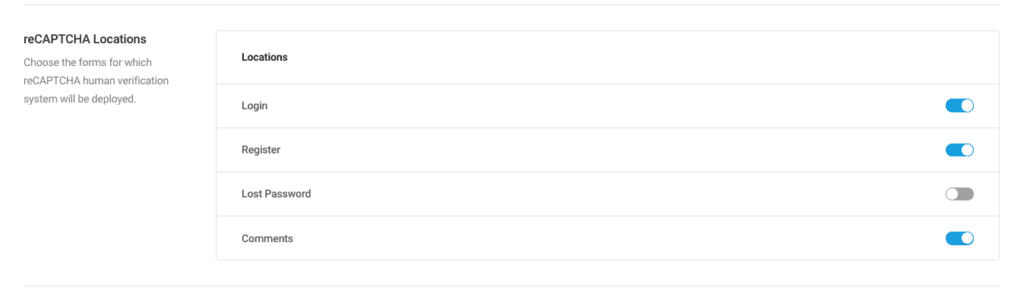
Inside WP Defender reCAPTCHA set up, scroll to the Locations section. Select the forms where the reCAPTCHA should appear, as shown below. reCAPTCHA can be set to appear on any of the following forms/pages.
- Login page.
- Register page.
- Lost password page.
- Comment forms.
Scroll down at the bottom of the page. Click the Save Changes button to finalise the Google reCAPTHA set-up.
More Articles
Here are extra articles to help you with your WordPress security.