Add Article to WordPress
Uploading Article to WordPress
At this point in the writing process, your article is ready to be uploaded to your WordPress posts.
WordPress is a popular content management system (CMS) that supports content creation. The CMS offers a great experience for content management.
In this guide, we’ll be going through the following:
- Upload article to WordPress posts
- Setup and Integrate Semrush to post
- Complete Semrush Recommendations
- Setup and integrate Yoast to post
- Complete Yoast Recommendations
- Setup table of contents
How we add articles to WordPress
Adding your articles to WordPress is a straightforward process. Let’s dive right into it.
1. Log into your WordPress Dashboard.
2. Go to Posts. Select Add New.
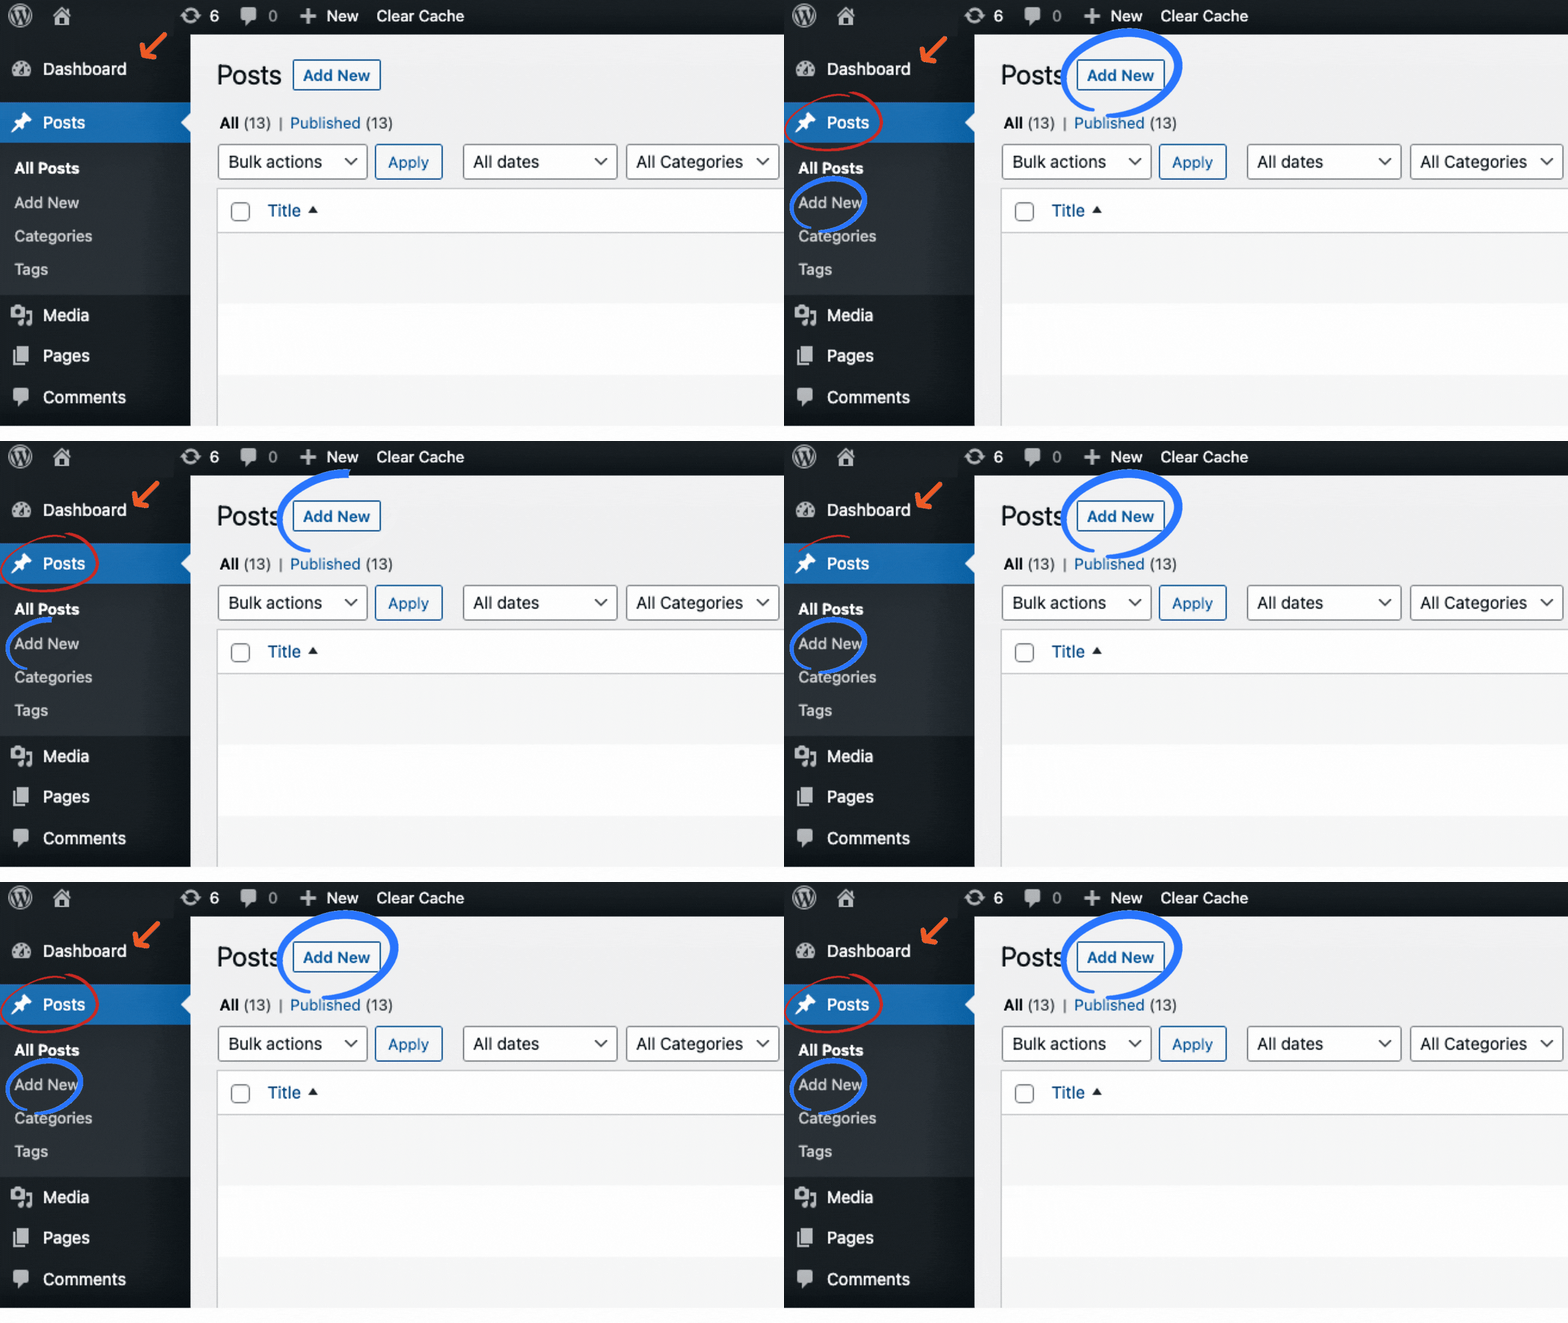
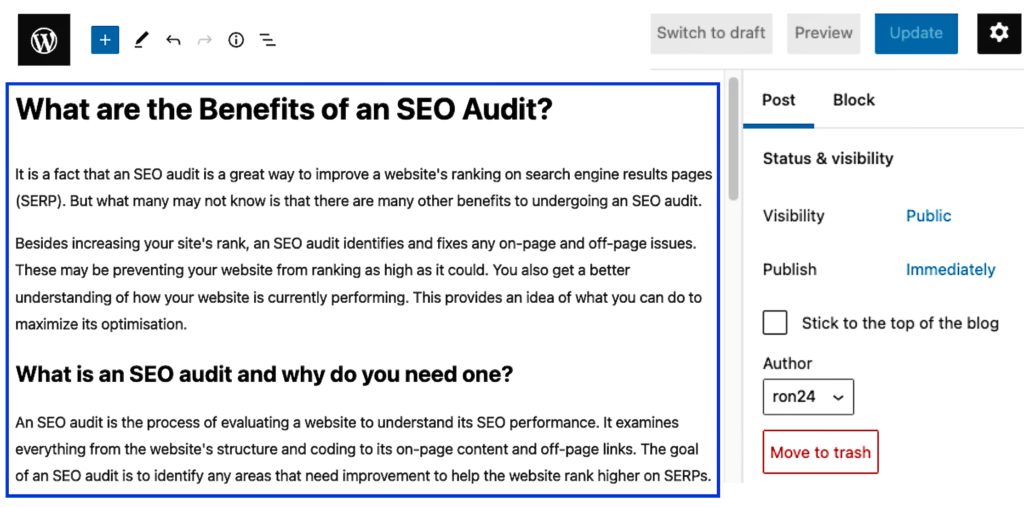
3. Enter your blog title on the WordPress editor page and paste the rest of the content in.
Some Helpful Links
Take a look at these other links for more information.
Setup and Integrate Semrush to Post
Semrush’s SEO Writing Assistant can help you write better content for your website. It provides a list of keywords to use in your content and suggestions to improve your writing.
Semrush offers a basic free account that comes with one free content recommendation. You must pay for a premium plan to enjoy all the Semrush features.
How to integrate Semrush
1. The first thing you need to do is visit the Semrush SEO Writing Assistant website to create a new account.
2. Go to your WordPress dashboard and scroll to the “Plugin” tab. Click “Add New.”
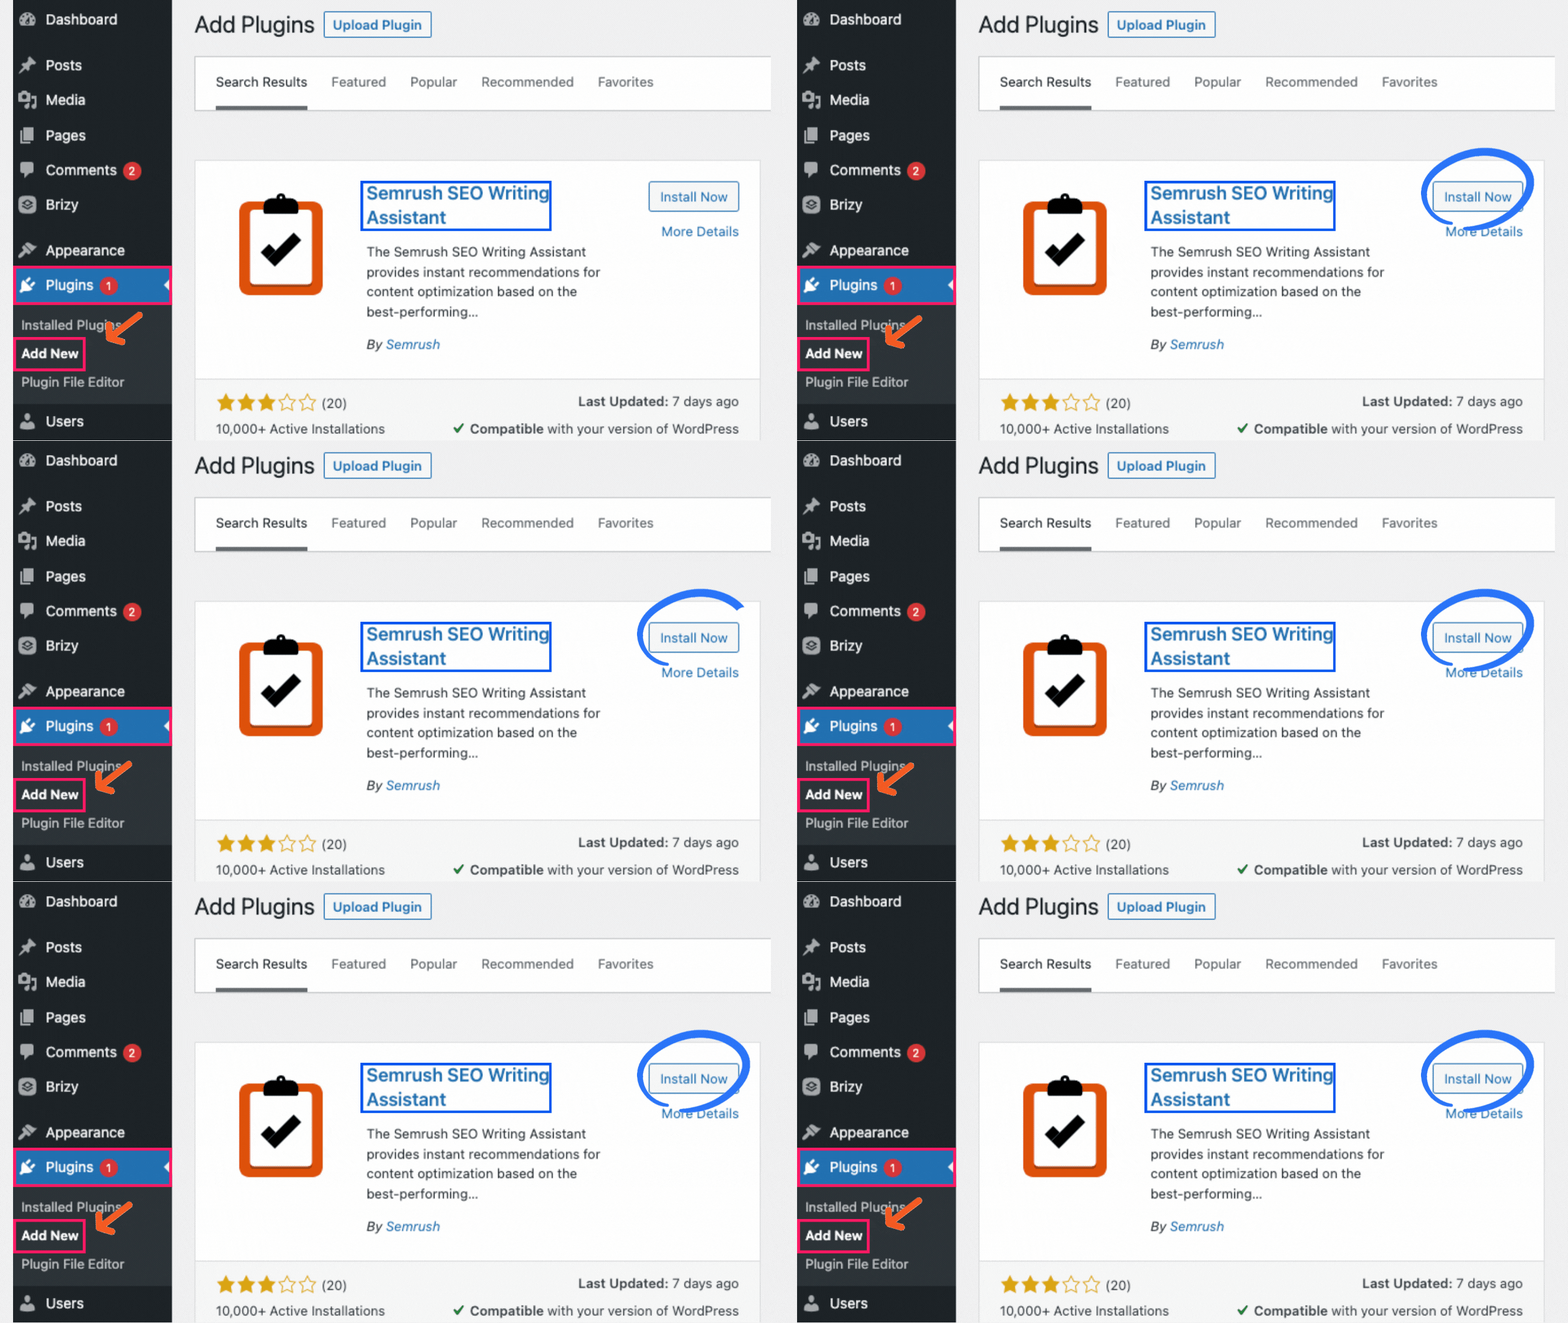
3. When the Plugin page loads, search for “Semrush SEO Writing Assistant.” Click “Install now” on the plugin, then “Activate” to add it to your WordPress account.
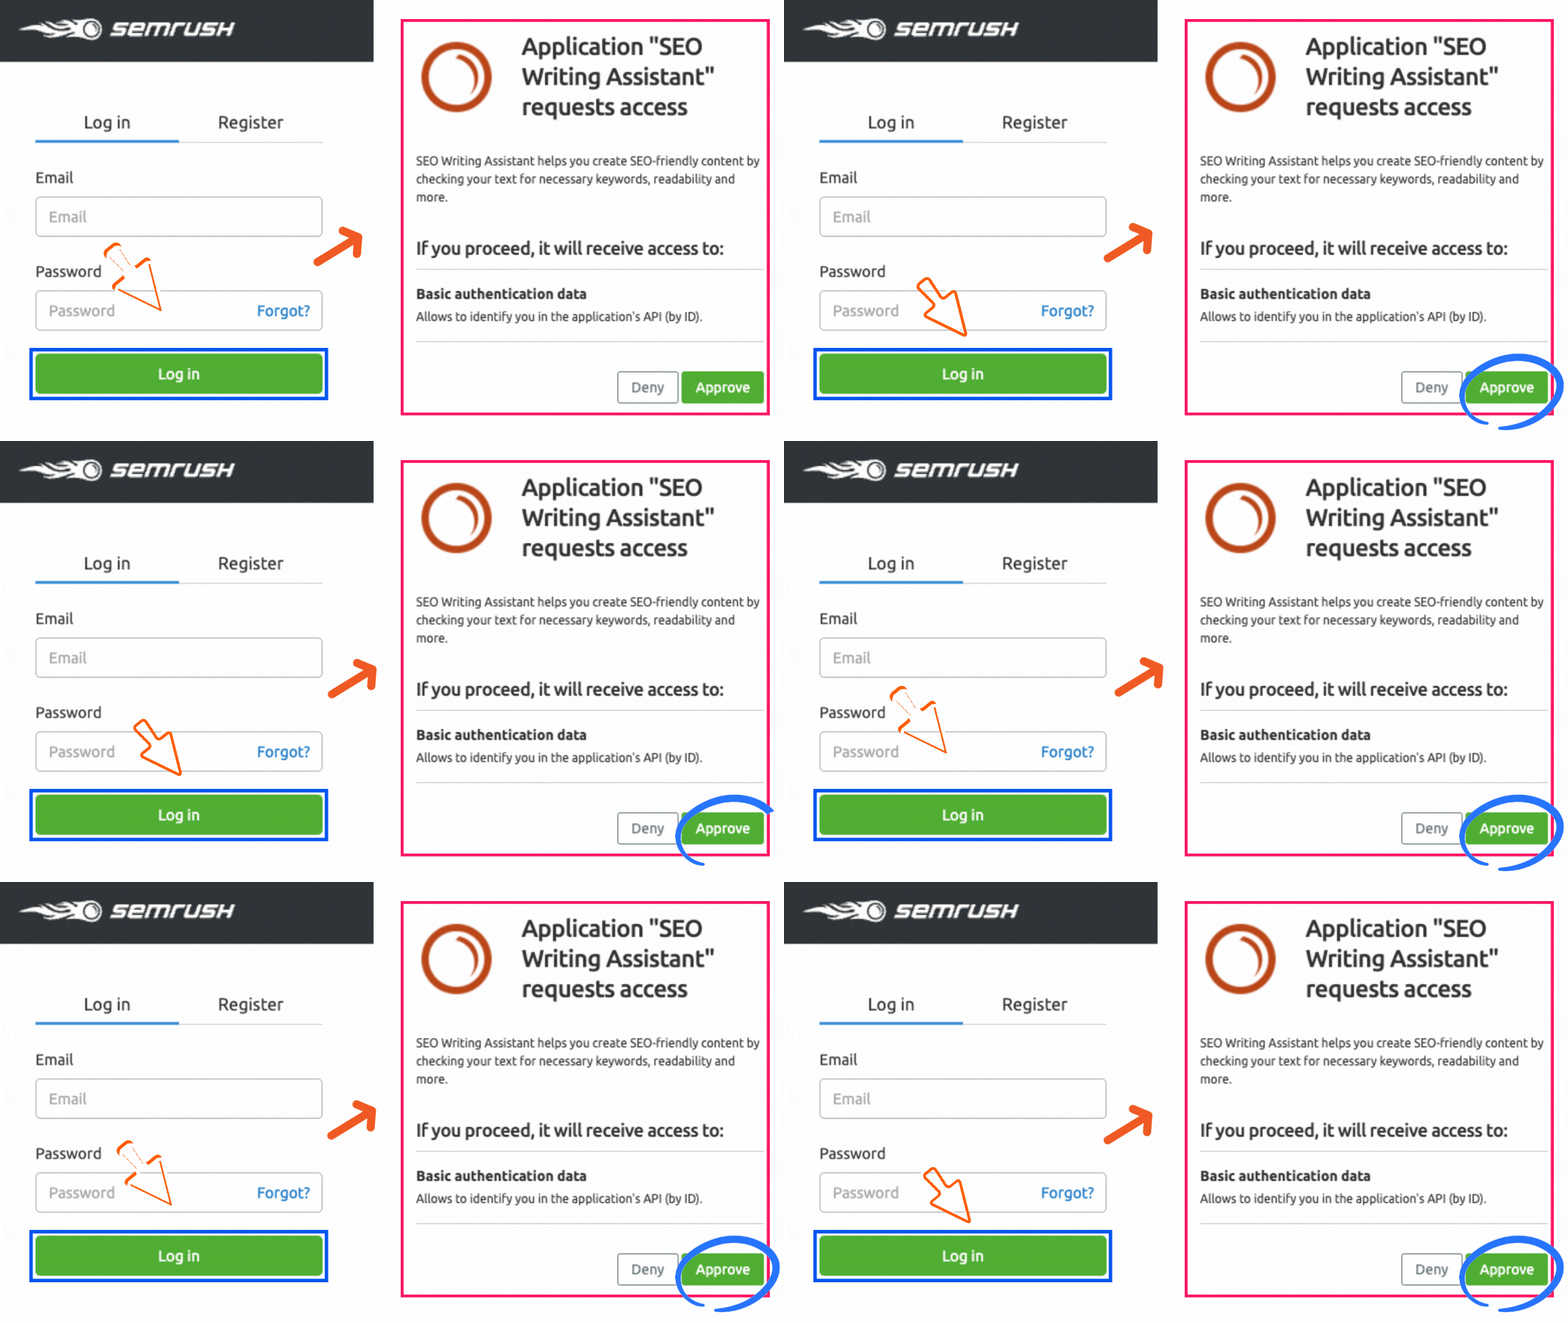
5. Next, open any blog post in your WordPress editor. Scroll down to find the Semrush writing assistant. Click the “Log in” button to sign in to your Semrush account.

Once logged in, a popup will appear, prompting you to grant Semrush access to your existing account. Just click “Approve” to integrate Semrush with your WordPress.
Some Helpful Links
Take a look at these other links for more information.
Complete Semrush Recommendations
Using the Semrush Writing Assistant
Now that you have connected the Semrush Writing Assistant to your website, it is time to start generating SEO recommendations for your article.
- In your WordPress dashboard, go to “Posts” and open your blog post. In the post, scroll down to the SEO writing assistant. Enter the target keywords for your blog post. You can add up to 30 keywords to enrich your SEO results. Then select the location for your target audience.
- Click “Get recommendations” for the optimisation to begin. Semrush will analyze your competitor’s content, then provide you with winning ideas.
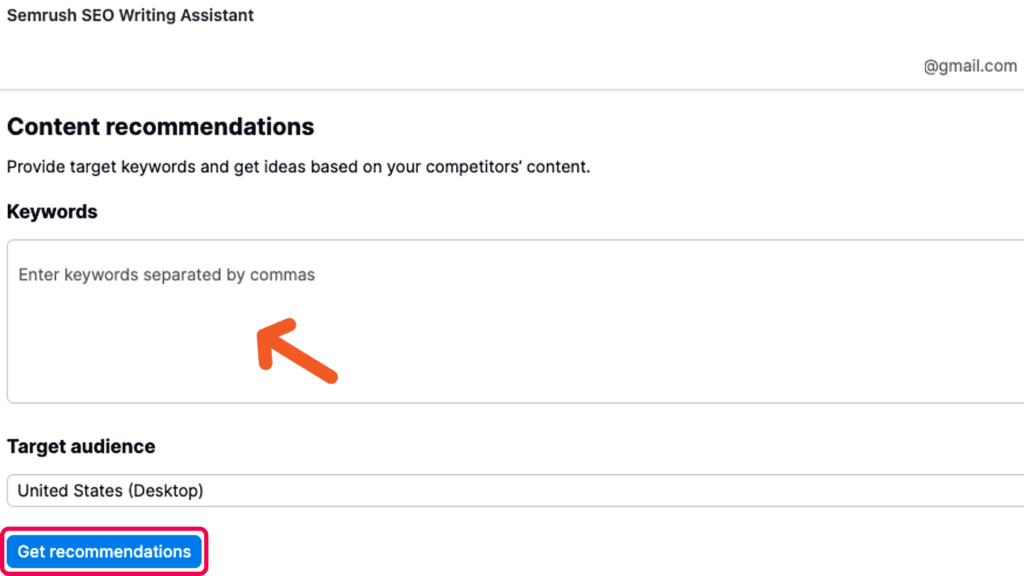
- Now optimise your content based on the recommendations from Semrush. Click through the different categories of SEO, Readability, Tone of voice, and Originality, for in-depth analysis and recommendations for SEO optimisation.
Here are the 4 categories of the Semrush Writing Assistant:
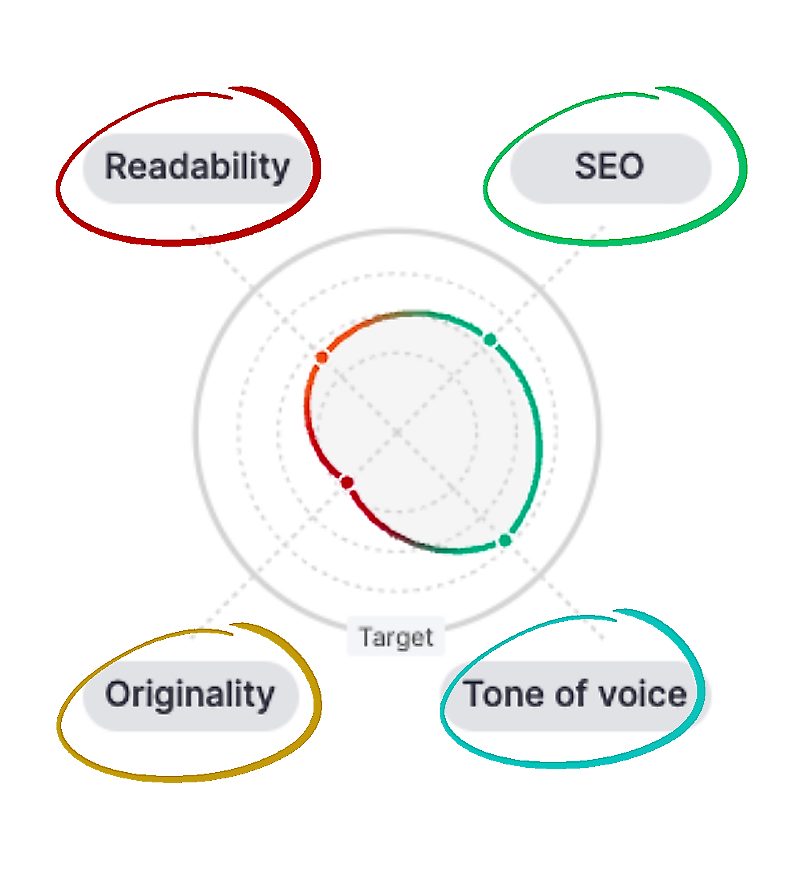
SEO:
If your target keyword is not included, enter it here. A number of recommended keywords will be generated. keywords already appearing in your article will have a green highlight.
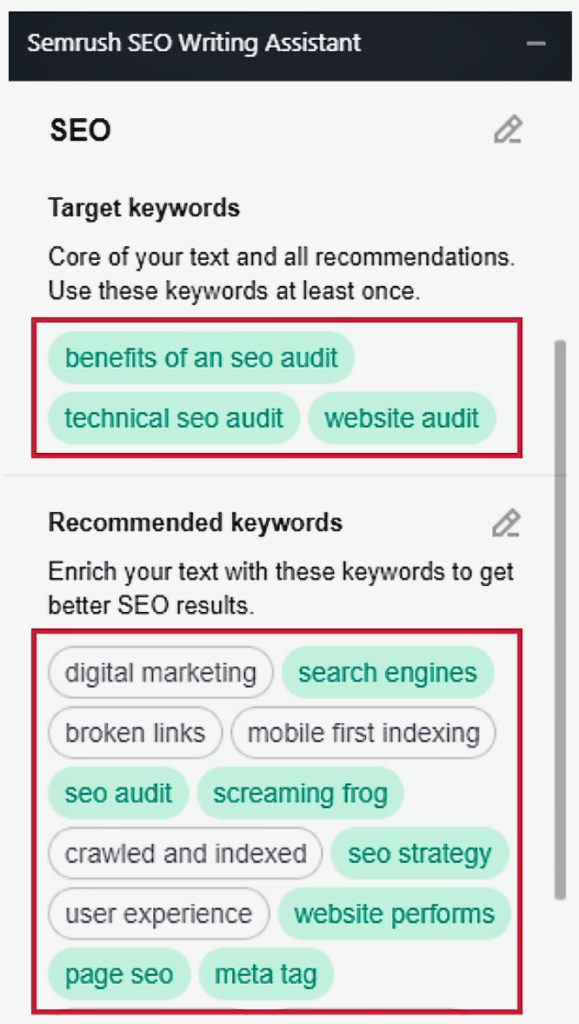
Other recommendations in the SEO category include;
- Link issues: The Semrush Writing Assistant checks your content for external and internal links. If the links are included, it checks to ensure they have no errors.
- Image and Alt attribute issues: The assistant also checks whether images have been added and have alt attributes.
Readability:
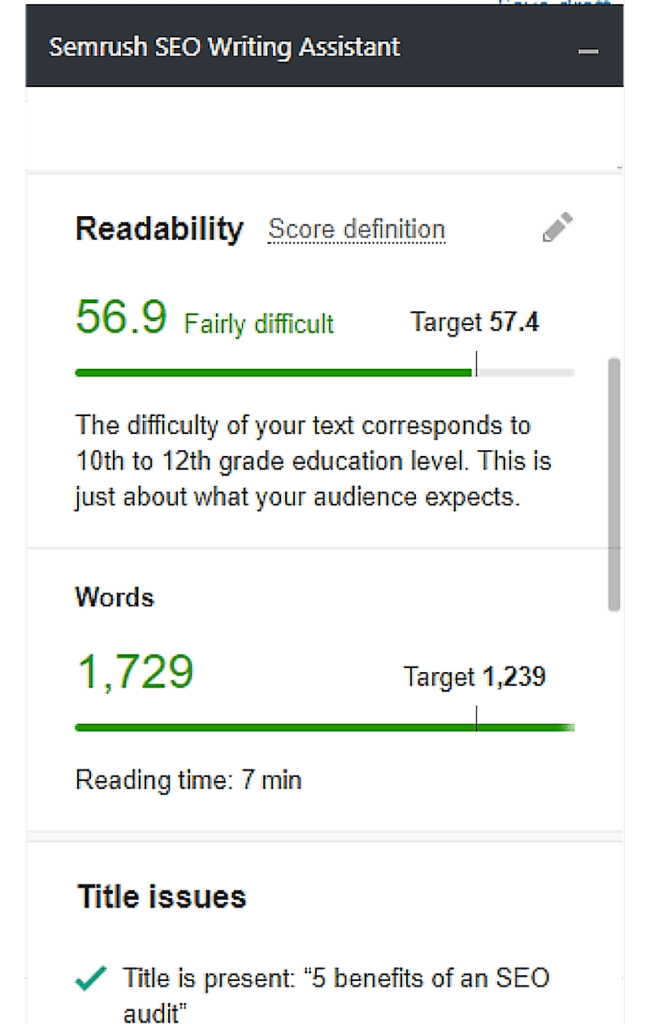
After SEO analysis, go to your assistant’s “Readability” section to check for readability. It scans how easy your text is for readers. Semrush provides feedback based on the Flesch-Kincaid reading-ease score.
Tone of voice:
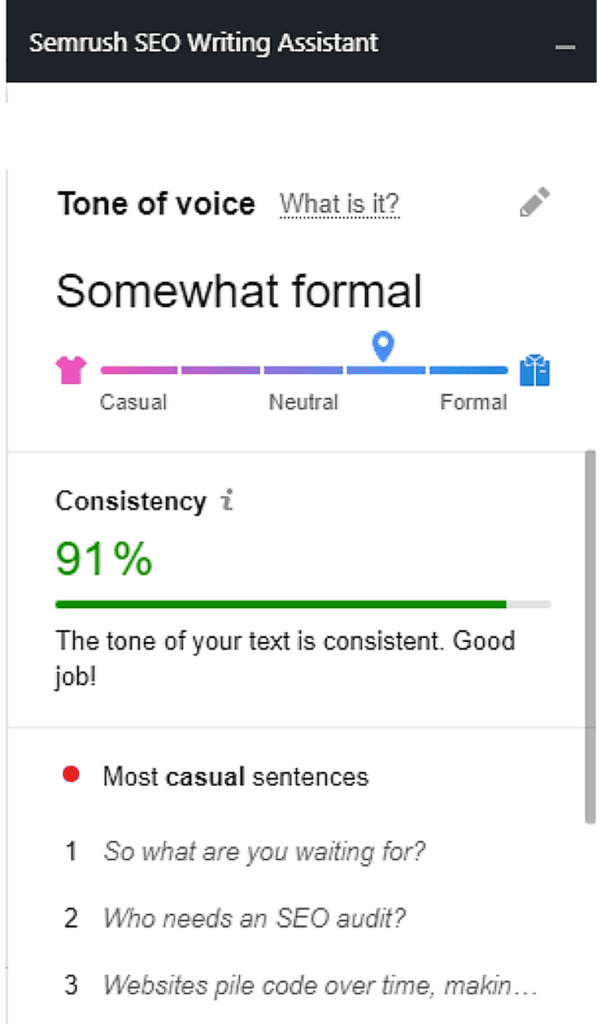
Click on the “Tone of voice” button to check your copy’s tone of voice score and consistency percentage in the SEO writing assistant. It will highlight the most formal and casual sentences so that you can improve them.
Originality:
Finally, check for plagiarism within your text with the “Originality” feature. Click the “Originality” section in the tool to see the originality percentage for your copy. The percentage calculates the number of words not similar to other text on the internet.
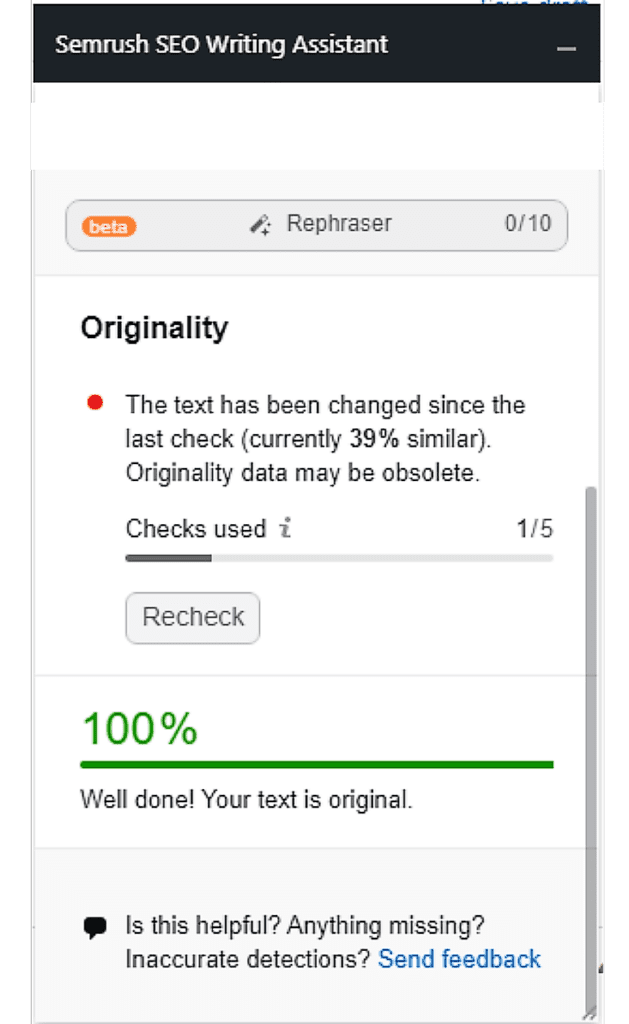
If the writing assistant flags your content with a high risk of plagiarism, consider rewriting or editing it. A “Rephraser” feature rewrites small bits of text using artificial intelligence. You can use this feature to edit the text in some paragraphs and sentences.
After making adjustments to your article in all four categories, you will see an overall score from the writing assistant. The more improvements you make, the higher the score.
Setup and integrate Yoast to Post
How to set up Yoast in WordPress
We shall focus on search engine optimisation with the Yoast SEO plugin in this topic. This will ensure you can make the necessary improvements to your article to rank well.
You can start by installing this plugin on your WordPress site. To do that, you have to follow these steps.
First, log in to WordPress and go to the Admin area or the “Dashboard”. Then follow these steps;
- Scroll down the page and click on the “Plugins” menu item. Under “Plugins”, click on “Add new”.
- Then search for “Yoast SEO” in the search bar.
- Search results will then display the Yoast SEO plugin. Next, go to the Yoast plugin and click “Install Now” to start the installation process.
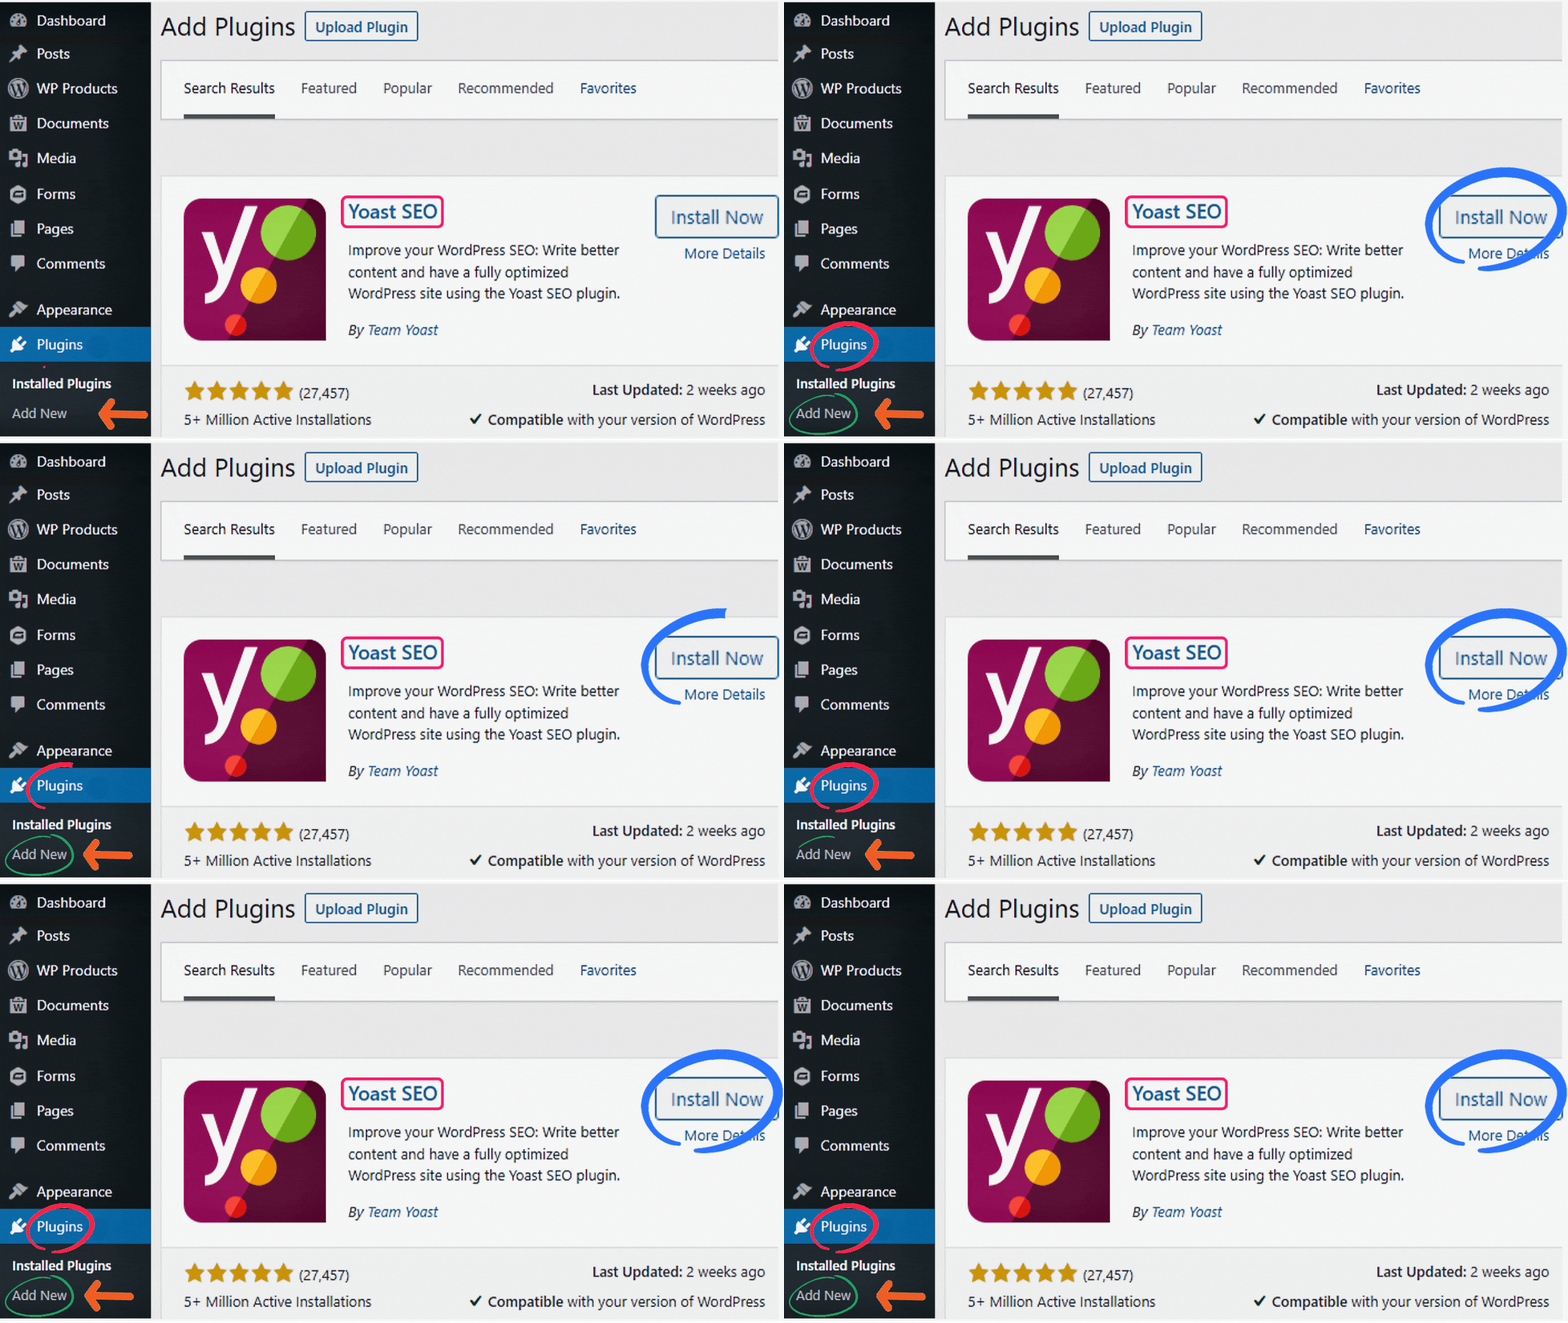
After the installation process is complete, click the “Activate” button.
The next step is to configure the plugin on your site. You can do this by following this guide from the Yoast team.
Some Helpful Links
Take a look at these other links for more information.
Optimise for SEO with Yoast
How to Optimise your Blog Post for SEO
The Yoast SEO content analysis checks whether your posts or web pages are optimised for SEO and easy to read.
Let’s jump right in to learn more about how it works. We shall be focusing more on the SEO and Readability analysis.
SEO Analysis
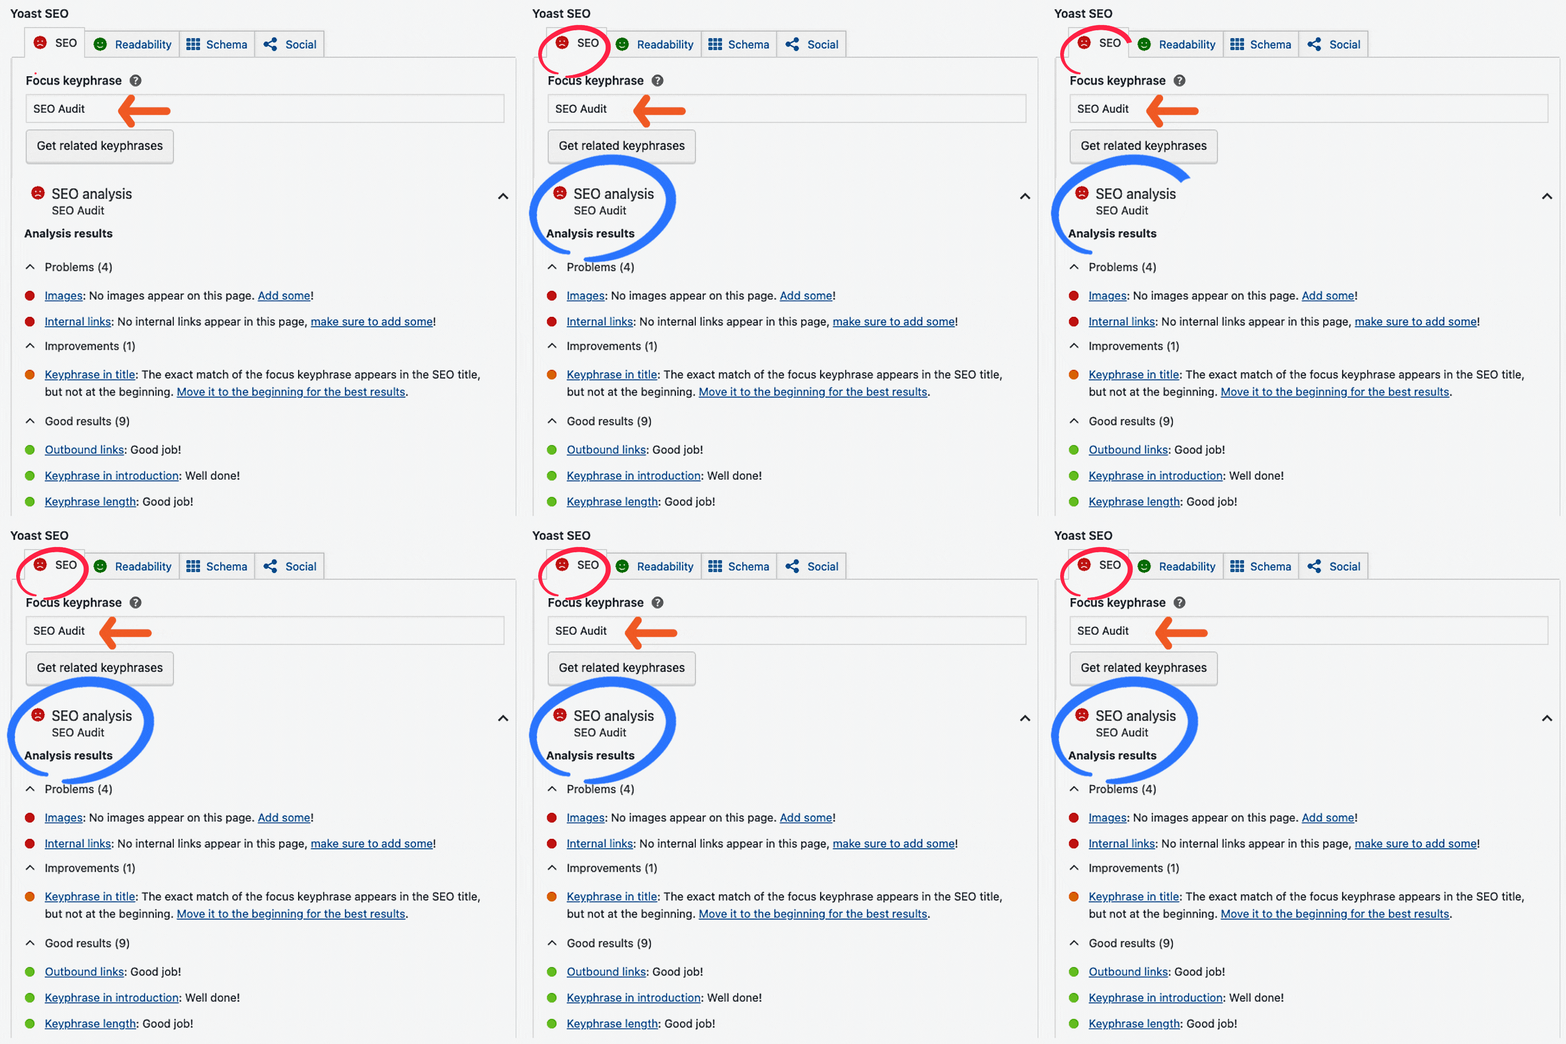
The first thing to do to get an SEO analysis is to enter your focus keyphrase or target keyword for your post.
Now click on “SEO Analysis” to see the analysis results. The results will include problems you need to address, improvements that need to be done, and good results that have been achieved so far.
Address all these highlighted problems and improvements till they show green bullets. Green is a high score which also means your post has a good chance of ranking high in search engines.
Please find more information on how to use Yoast SEO content analysis.
Readability analysis
After setting your focus keyphrase, check your content for readability. The readability analysis makes suggestions for making your content easy to read. Text that is easy to read sparks interest in your audience, making them stay longer on your site.
The readability analysis has many features that make recommendations for your article. Like in the SEO analysis, you should implement these recommendations based on your score.
Here are the features of the readability analysis;
- Transition words
- Flesch reading ease
- Passive voice
- Subheading distribution
- Paragraph length
- Sentence length
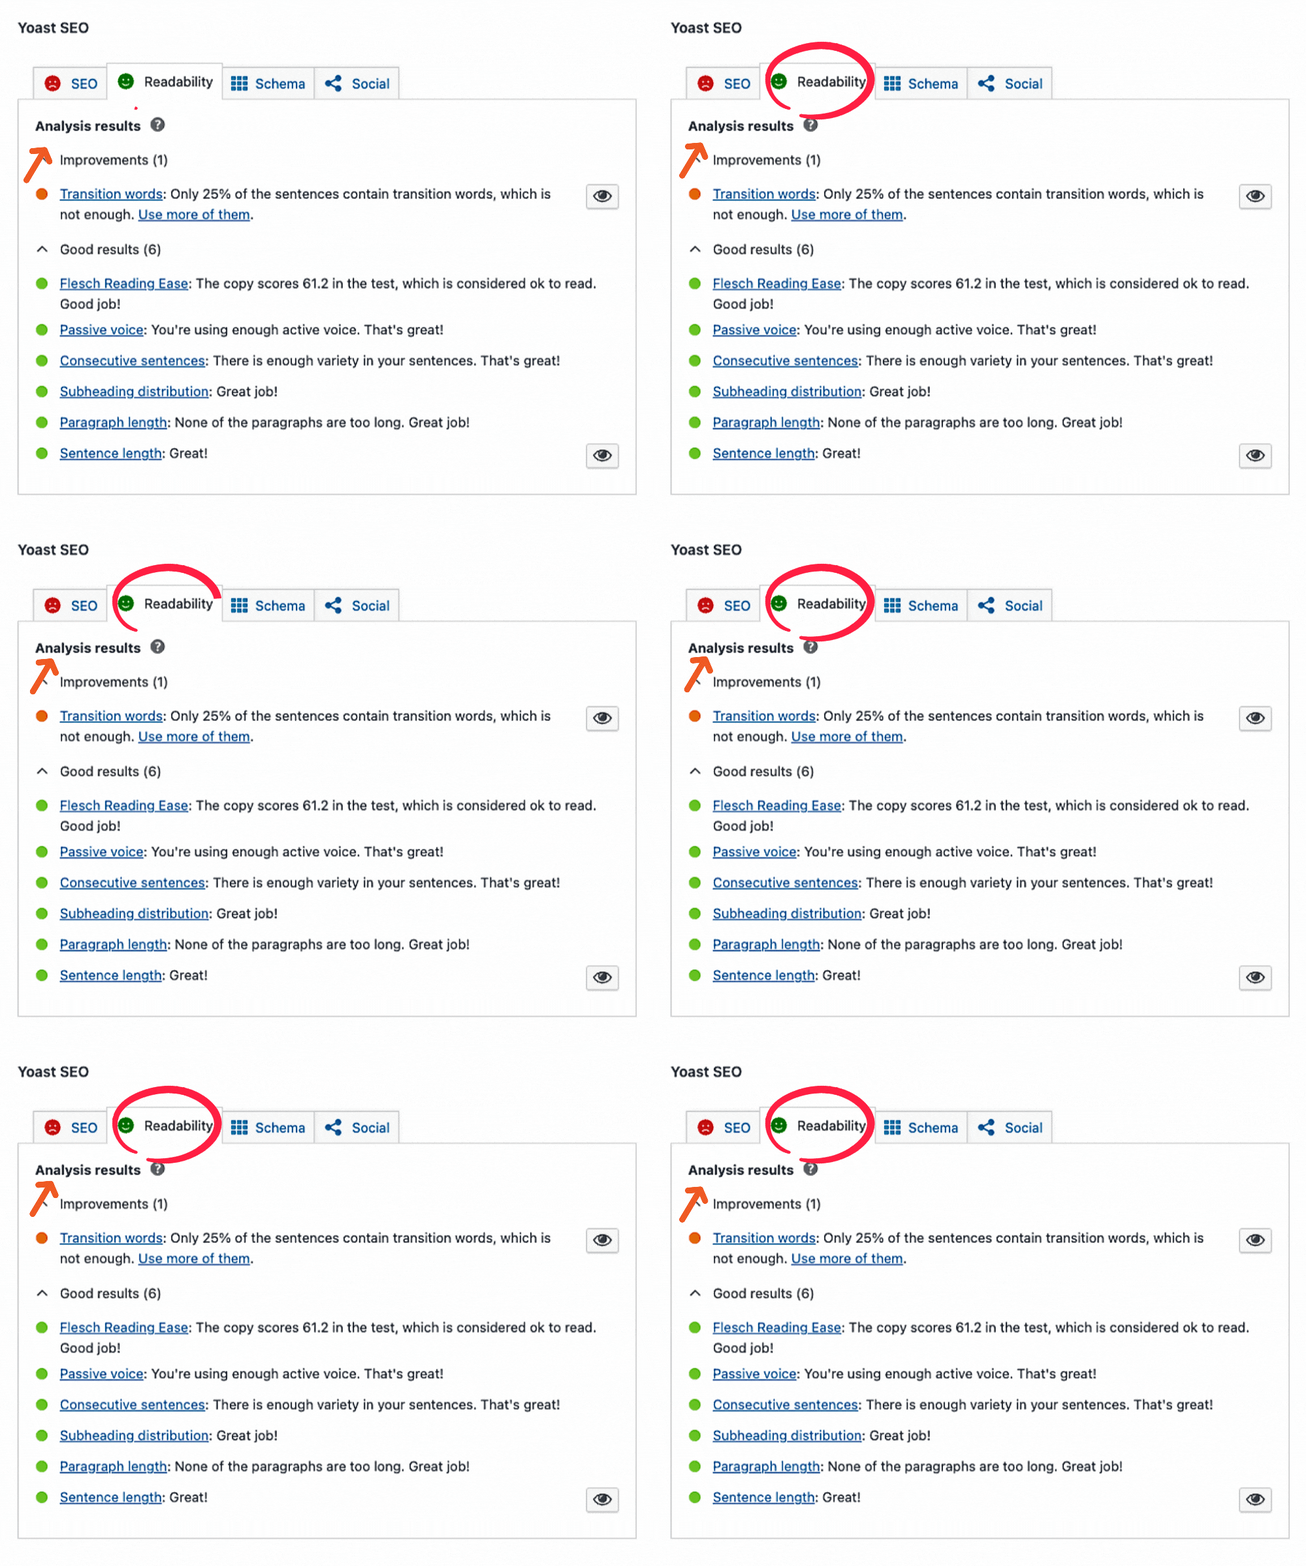
To learn more about the Yoast SEO plugin’s readability analysis, read this documentation from the Yoast team.
Note
- If you get an orange or red bullet, click on the eye icon beside each recommendation. This will instantly highlight the result in the text within your article.
- Besides each Yoast recommendation, you can also find feedback that contains links to more information about that specific recommendation.
Other Yoast SEO tools
Google preview
You can also get a live preview of your post on Google in Yoast. This displays a snippet of what your blog post will look like on search engines. You can read this Yoast document to understand how the Google preview feature works.
Social preview
You can find this feature under the Yoast SEO meta box or in the sidebar if you are using the WordPress block editor.
The Social preview feature, available only in Yoast premium, allows you to get a snippet of what your blog post will look like on social media.
Cornerstone content
Cornerstone content describes the most important posts or pages on your website that serve as focal points for your site visitors. The Yoast SEO plugin has a toggle button in the “cornerstone content” section that you can turn on to notify Yoast that this is content you consider a high priority.
Here’s a document that gives a detailed understanding of the cornerstone content strategy.
Some Helpful Links
Take a look at these other links for more information.
Setup Table of Contents
Steps to add a table of contents
1. To add a “Table of Contents”, ensure that each article section has a heading tag (H title tag). It helps organise your article to make it readable and easy to navigate.
In the WordPress block editor, find a section where you want to add the “Table of contents”. We recommend adding it after the introductory paragraph of the article.
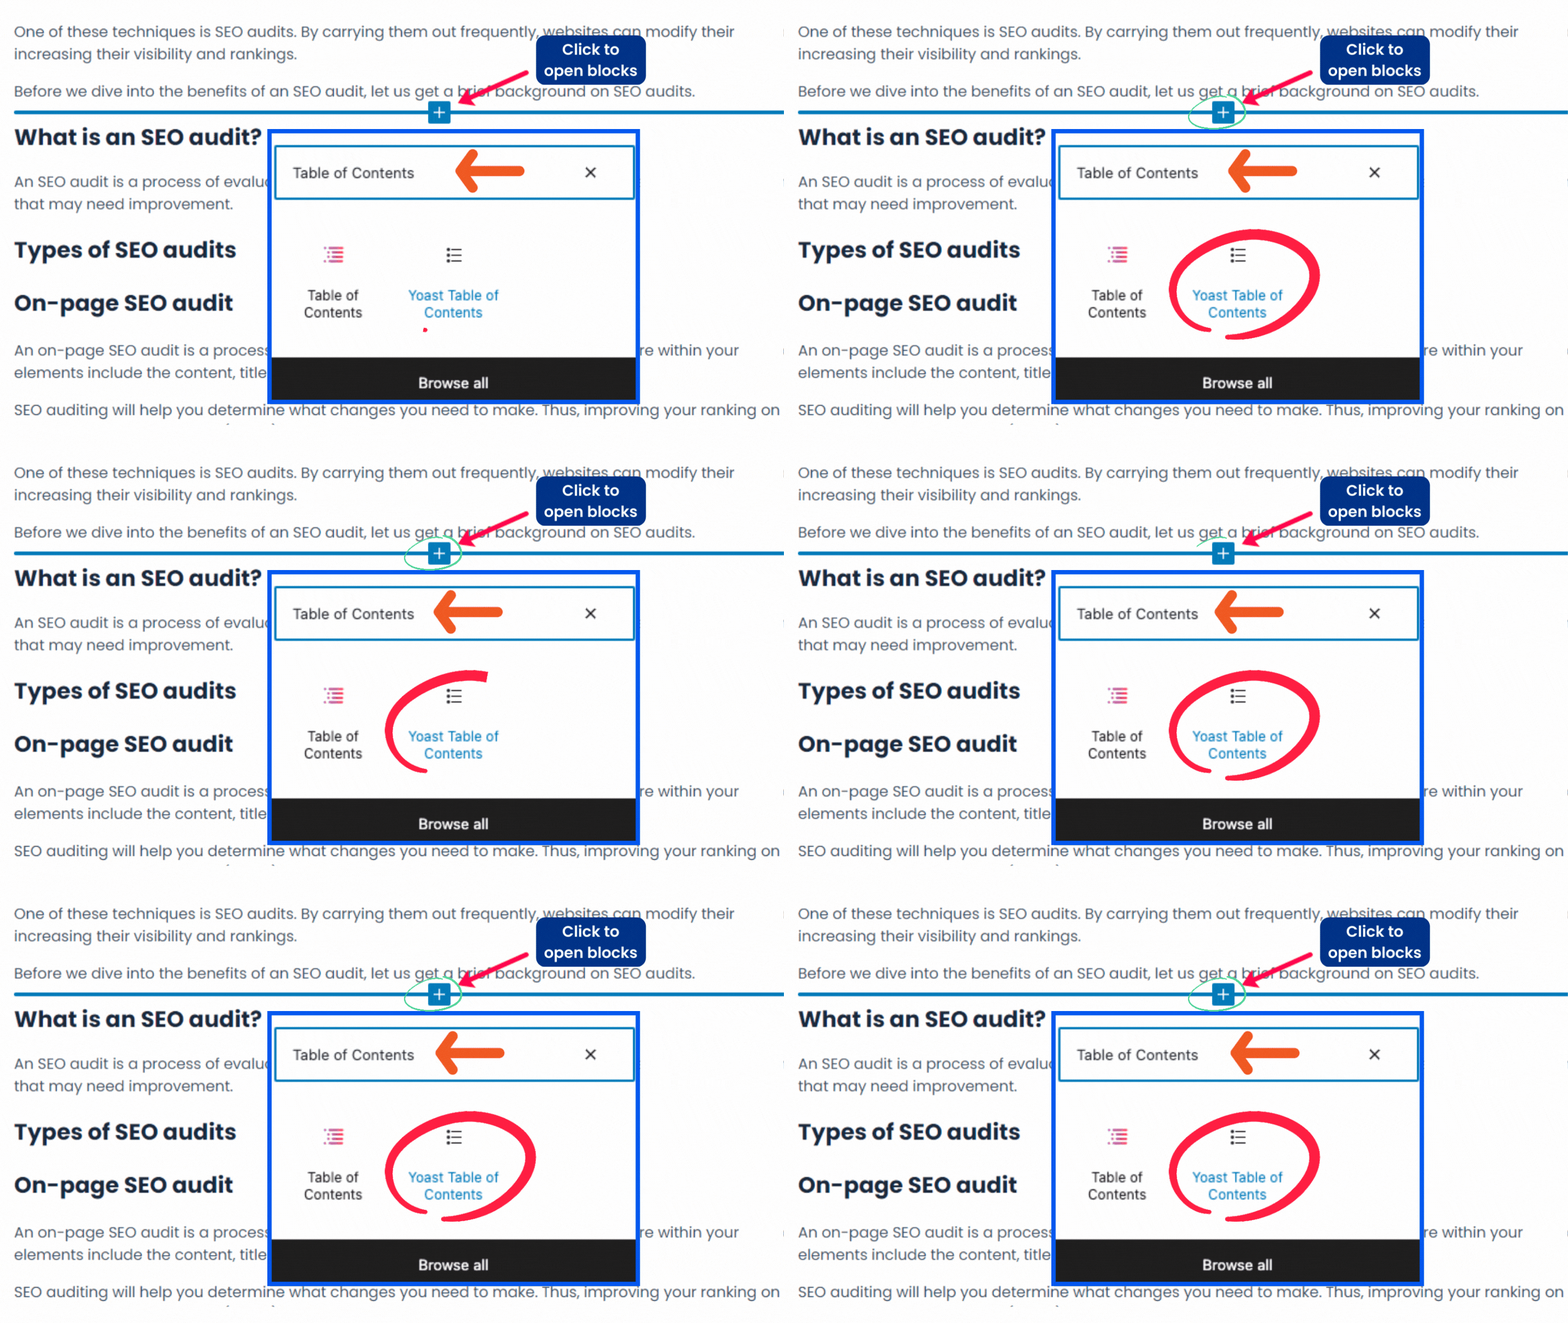
Click on the blue +icon to open blocks. In the search field, type “Table of Contents” and select the Yoast table of contents by clicking on it. The table of contents will be created automatically.
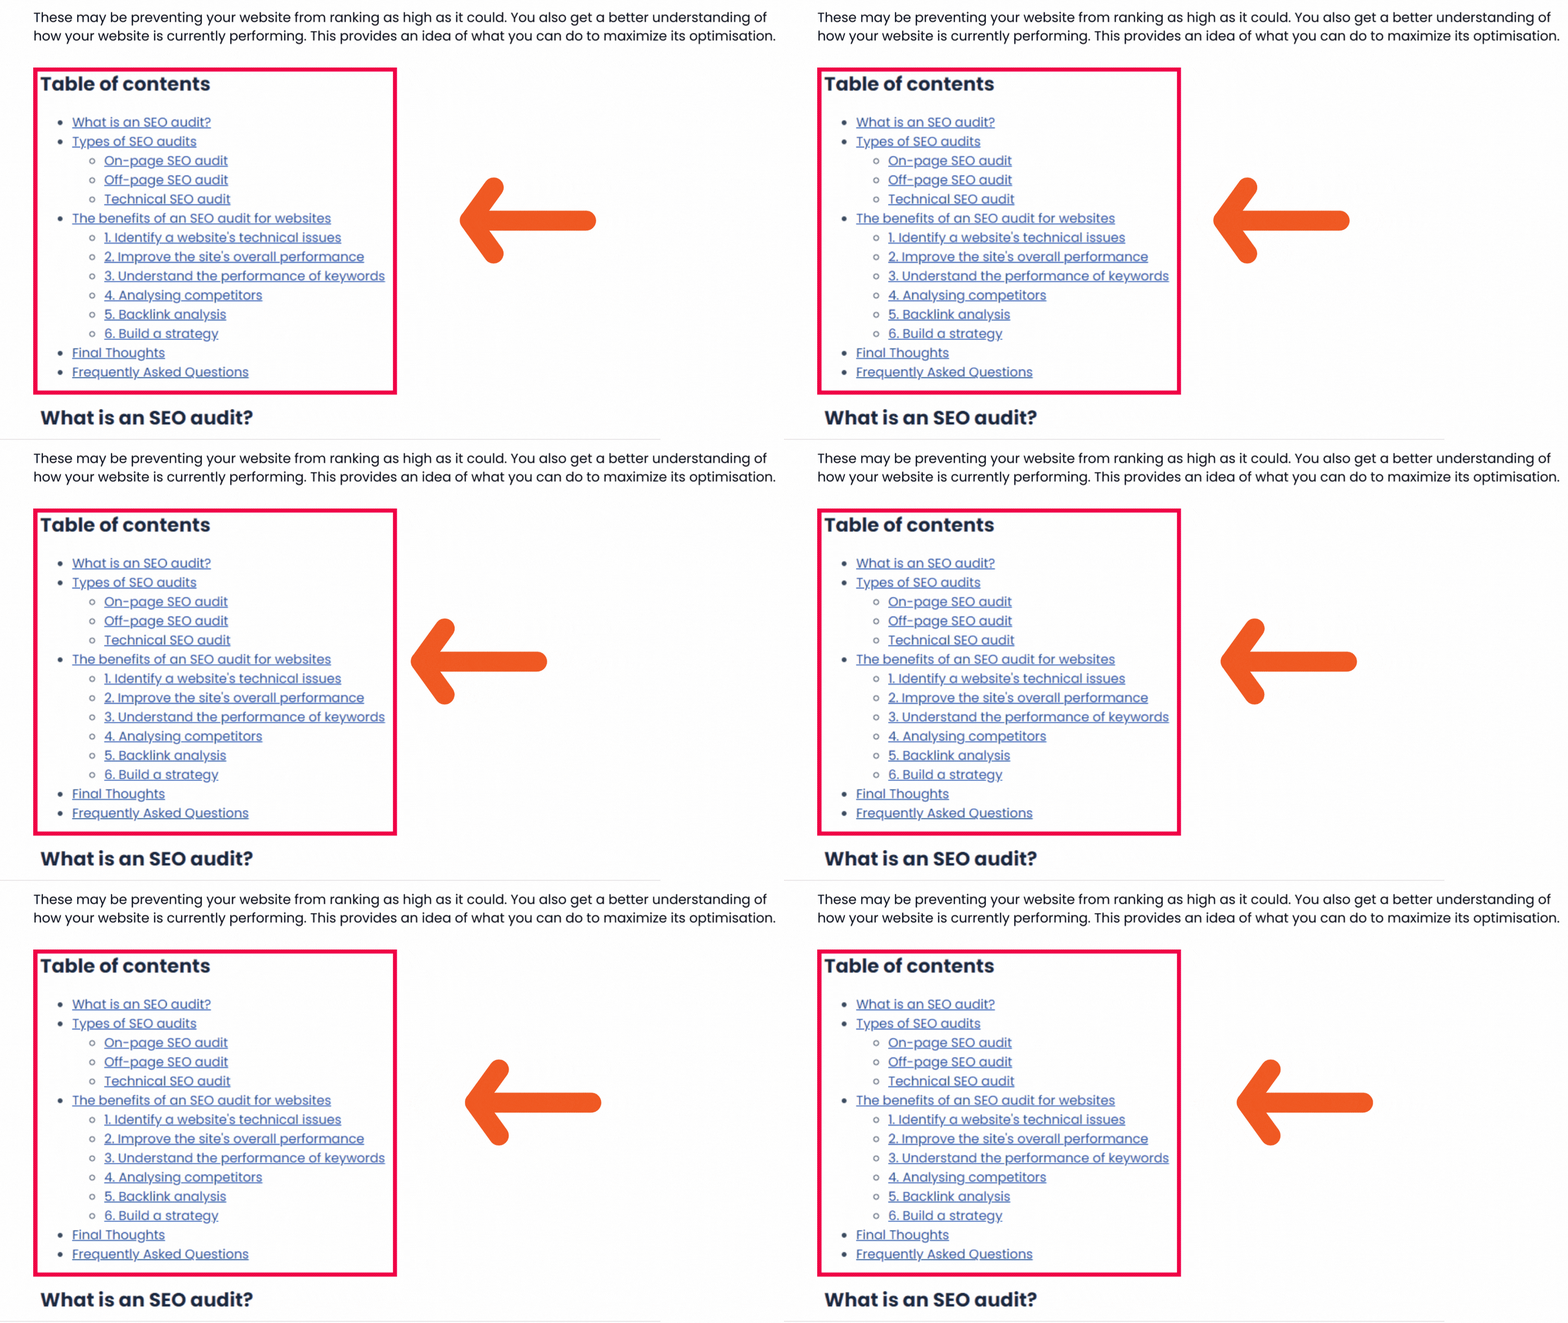
The table of contents follows the hierarchy of the H tags and indents headers based on their level. When you edit or amend the headings, the table is also updated automatically.
Some Helpful Links
Take a look at these other links for more information.
