Installation of Footer Plugin
Lesson 1 of 6
2m read.
Beginner
After you have completed the Freemius checkout you can install the Footer Plugin for Divi. If you are using a Free Trial, the process is the same as if you are using the paid license.
To start, make sure that you have received your email confirmation from Freemius.

Footer Plugin Activation
- Download the Plugin: In the email setup instructions click on the 2nd item. (If you use Safari we have a link to a video for explaining what to do if you use the Safari browser.)
- Upload your plugin to WordPress: Inside your WordPress Dashboard, you will now need to upload the plugin. We have a video to explain exactly how to do that as well.
- After installation – Activate the Plugin: After installation, you will be taken to an Activation page.

- Copy your License Key: Copy your license key from your email address and paste it into the agree and activate license area. After a quick validation, you can press the Agree and Activate license button.
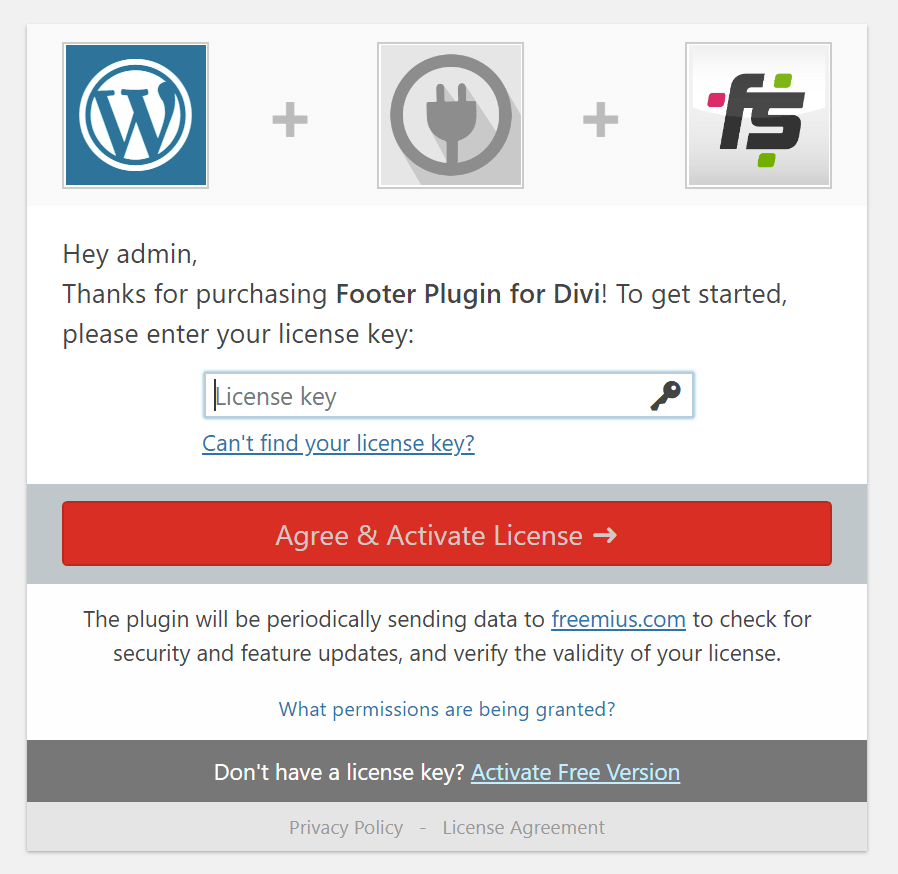
Your plugin is now Activated.
The sub-menu for the plugin will show you how to manage your plugin license, how to upgrade, and how to get support.